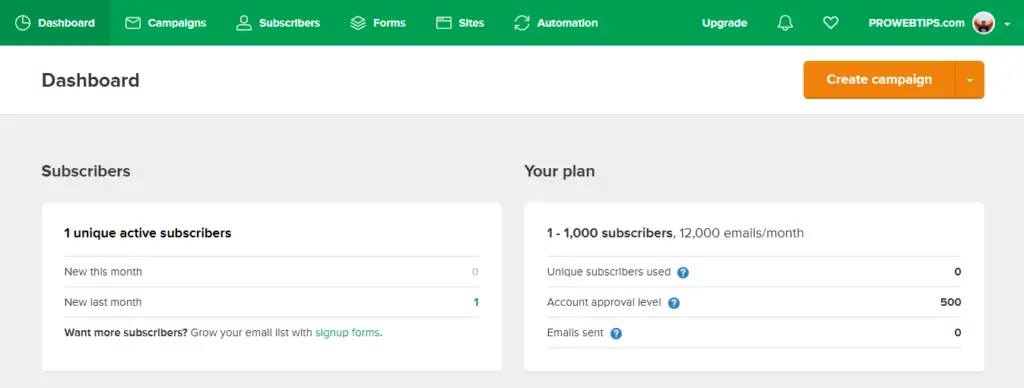
If you are searching for this, you know best what is MailerLite. I should briefly introduce that. MailerLite is a popular email marketing platform and using this platform you can send bulk emails, newsletters and create automation, landing pages, sales pages and more.
If you are going to sign up on the MailerLite platform, it approves by checking your information manually. So, you are thinking about how you get approved for MailerLite? or you have applied but MailerLite rejected the application. Then now what to do?

In this article, I am going to share my subjective experiences with MailerLite. I got two times rejected and recently got approved for MailerLite. So, what did I do earlier and what did I do after rejections to get approved for MailerLite? I am going to explain everything in this article.
Table of Content
- Follow this sign-up process to get approved for MailerLite
- Revisiting the Questions to get approval for MailerLite
- What Industry are you in?
- How many people work for your organization?
- When was the last time you sent a campaign/newsletter?
- How many subscribers do you have?
- How do you collect subscribers?
- What content do you plan to send to your subscribers or add to landing pages and websites?
- Have you used another email marketing service in the past?
- Have you ever used other website builders before?
- Do you use any e-commerce platform?
- How did you find out about MailerLite?
- Are you interested in transactional emails?
- Conclusion
Follow this sign-up process to get approved for MailerLite
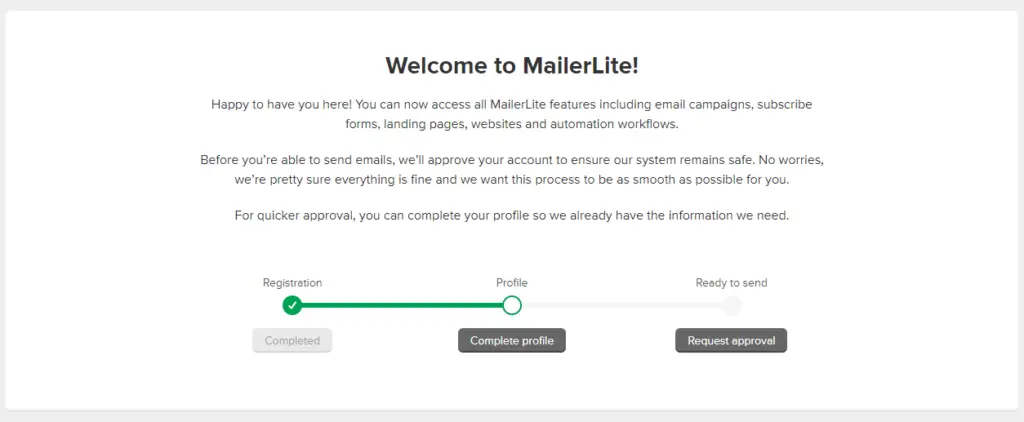
The sign-up process is very straightforward, and it is a three-step process. So, you must fill up some of your information like company name, and email address to create an account. Then complete the profile inputting your personal information like name and address, then you also need to fill up some questions answers regarding MailerLite email services, which are asked by MailerLite.
Must Read:- Best Free Email Marketing Tools For Automation and Newsletters.
These questions answers will be the approval factor of your MailerLite account. As I have mentioned earlier, I got rejected two times but recently in the third attempt, I got the approval within a few minutes.

I explained everything steps by step and answered the question using which I got the approval of MailerLite. I believe if you follow the same method then you will get approved within a few minutes on the first attempt.
Step – 1. Create Account

Visit the official MailerLite website and click on “Signup for free,” then put your company or organization name, email address and input your password, and hit “Create my account.”
Step – 2. Complete Profile

When you create an account, MailerLite sends a confirmation email to your email account, you must open the link for completing the second step. In this step, MailerLite will ask you some questions (Very Important!) and you must also fill up your correct profile information.
For the questions answers, you can take references from here, which I have attached some screenshots of below.

Fill up your information and company information like name and address, and you will also get some questions regarding you and about MailerLite on the same page. You must select and answer the question relevant to your work profile. As for reference, you can take ideas from the images.

In the images, I have filled the questions answers with my relevant work profile. I am a blogger and I select that, there are many options you can select any of them. As for the organization size, you must select 1-5, cause as a blogger you will have less than five people working under you, not more than that.

Now the important question and the answer see in the yellow highlight section above in the image. The question is about your content and how do you plan to send it? This is the same answer that I used to get approval for my MailerLite account, you can copy-paste the answer, but I will suggest you, do some adjustments.
MailerLite has some AI algorithm to check fraud and spam, so if you adjust this answer according to your work profile and website.

Finally, select some question answers again, like how you know about MailerLite etc. Then accept the MailerLite anti-spam policy, verify you are not a robot, and then hit Save to proceed with the third and final approval step.

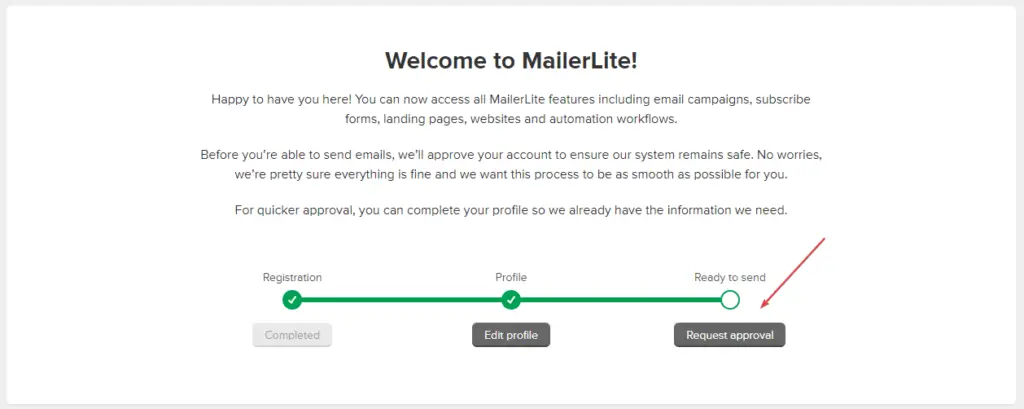
Step – 3. Request Approval
This is the last step, here and here you must verify your domain and your business email that is made with your website. And this information will be crucial for your approval on MailerLite.

Frist: – You must select “I would like to verify my website” and then enter your website URL and click on the orange “Next” button.

Second: – When you click on the Next button, MailerLite will ask you to input your custom domain email address to verify your website or domain ownership. So, use your custom domain, if you do not know how to create a custom domain professional email, check out the article to create professional email accounts with Zoho Mail.

Finally, when you click on the “Next” button, MailerLite will send you an email to verify your ownership. Open your email and click the link to verify yourself. After a few minutes, you will get the approval email.

Revisiting the Questions to get approval for MailerLite
What Industry are you in?
“Blogger”
There will be other options, you have to select just one. So, if you are a blogger then choose blogger.
How many people work for your organization?
“1-5”
This option is the least range value option and is ideal for bloggers. And if you are working for a big organization then you can select the range.
When was the last time you sent a campaign/newsletter?
“I haven’t sent any yet”
If you choose this option, it would be great for getting approval on MailerLite as a blogger.
How many subscribers do you have?
“<1000”
If you choose “I haven’t sent any newsletter yet” that means you haven’t any subscribers.
How do you collect subscribers?
“I have yet to start collecting subscribers”
There will be other options, according to earlier question answers you must check only this option.
What content do you plan to send to your subscribers or add to landing pages and websites?
“I do blogging and make YouTube videos, share tutorials about web development, digital marketing, SEO, and other technology stuff. I haven’t started to collect emails, I have started my website in 2019 and now the website has consistent traffic. Now I am getting about 10000 unique visits per month on my site. I want to collect emails, recently my fellow blogger friend suggest using MialerLite.”
Have you used another email marketing service in the past?
“No”
There will be options for other email services like Sendinblue, MailChimp, GetResponse, etc, so you must select “No” for getting faster approval for MailerLite.
Have you ever used other website builders before?
“WordPress”
If you doing blogging using WordPress or any other platform you can choose, “WordPress” is the most common platform for bloggers.
Do you use any e-commerce platform?
“No”
If you use an e-commerce platform, like Shopify, WooCommerce or any other you can choose them.
How did you find out about MailerLite?
“Friend or Colleague”
This option looks more natural than others for a Blogger.
Are you interested in transactional emails?
“No”
If you are interested in transactional emails, then you can select Yes instead of No.
Conclusion
MailerLite is a unique email marketing platform, they provide a free forever plan with limited features, which are very distinctive compared to others. MailerLite gives you automation and landing page building facility, which are rarely found in any free email service providers.
If you are thinking of sing up on the MailerLite platform, then you follow up on these steps which I have explained and most important fill up correct information whitherever your input. If you have any suggestions or questions regarding MailerLite approval, please leave a comment.